I’ve been trying to convince my husband to like hummus for years now. And when I say “like hummus”, I mean “try hummus”. Because I don’t even know that he has ever tried it. I don’t know what his hang up about it is because it’s absolutely fricking delicious. I’ll be honest though. I don’t want to share this hummus. I’m perfectly okay with him not wanting to try it so that I can have this all for myself. Or I’d much rather share this with someone who would really appreciate just how good this Roasted Garlic Hummus is. I’d rather take it to a girlfriend’s house and watch some terrible reality shows. Or something with John Krasinski in it.

I’m not going to beat around the bush here, making homemade hummus takes a little bit of time and love. Roasting the garlic takes about 45 minutes. Also, I don’t know if you know this, but to achieve the ultimate smooth hummus texture, you need to de-skin the chickpeas. And that’s not for the faint of heart.
But it’s worth it. Because homemade hummus is so much better than store-bought. Like really, truly. And this Roasted Garlic Hummus is so fantastic. It is creamy and garlicky and divine. I could dip a twig in it and still be totally satisfied. I mean, I wouldn’t recommend it though. Fresh veggies and pita chips will do just fine.
Let me show you how I made this Roasted Garlic Hummus 👇🏻
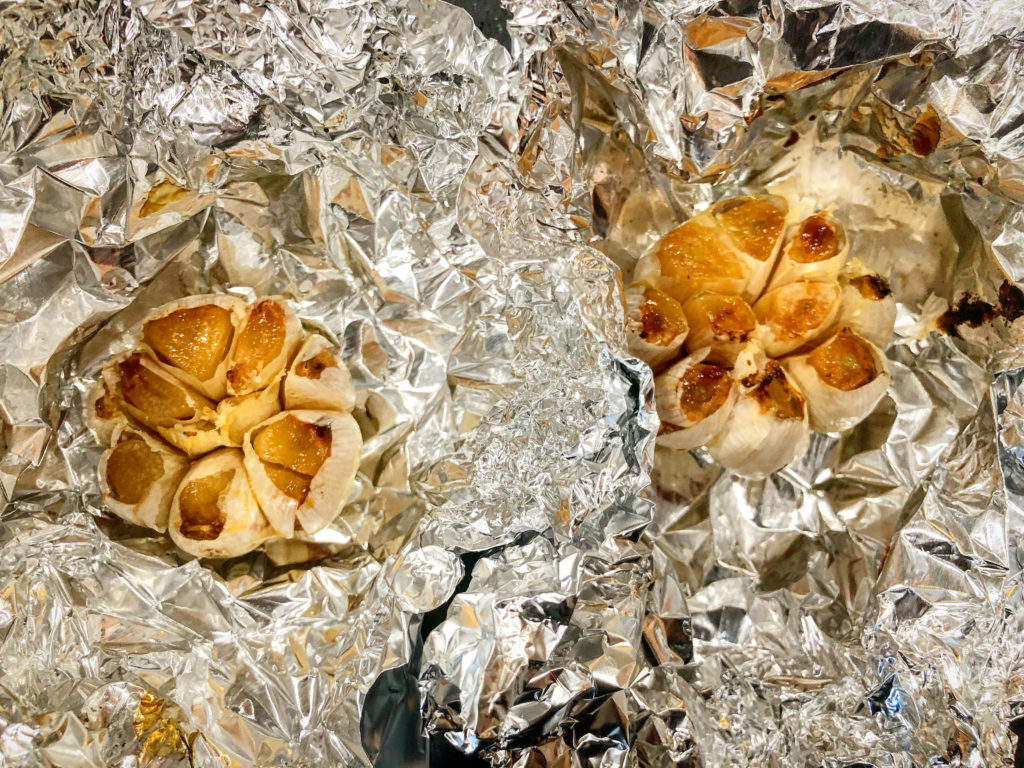
Okay, so you wanna start by roasting your garlic. Preheat your oven to 400 degrees. Cut 3 squares of foil and place each head of garlic in the center. Drizzle about 1/2 tbsp of olive oil on each garlic head and sprinkle on a little sea salt. Cinch up the foil and pop the foil balls on a baking sheet. Roast the garlic for 40-50 minutes until extremely fragrant and golden in color.
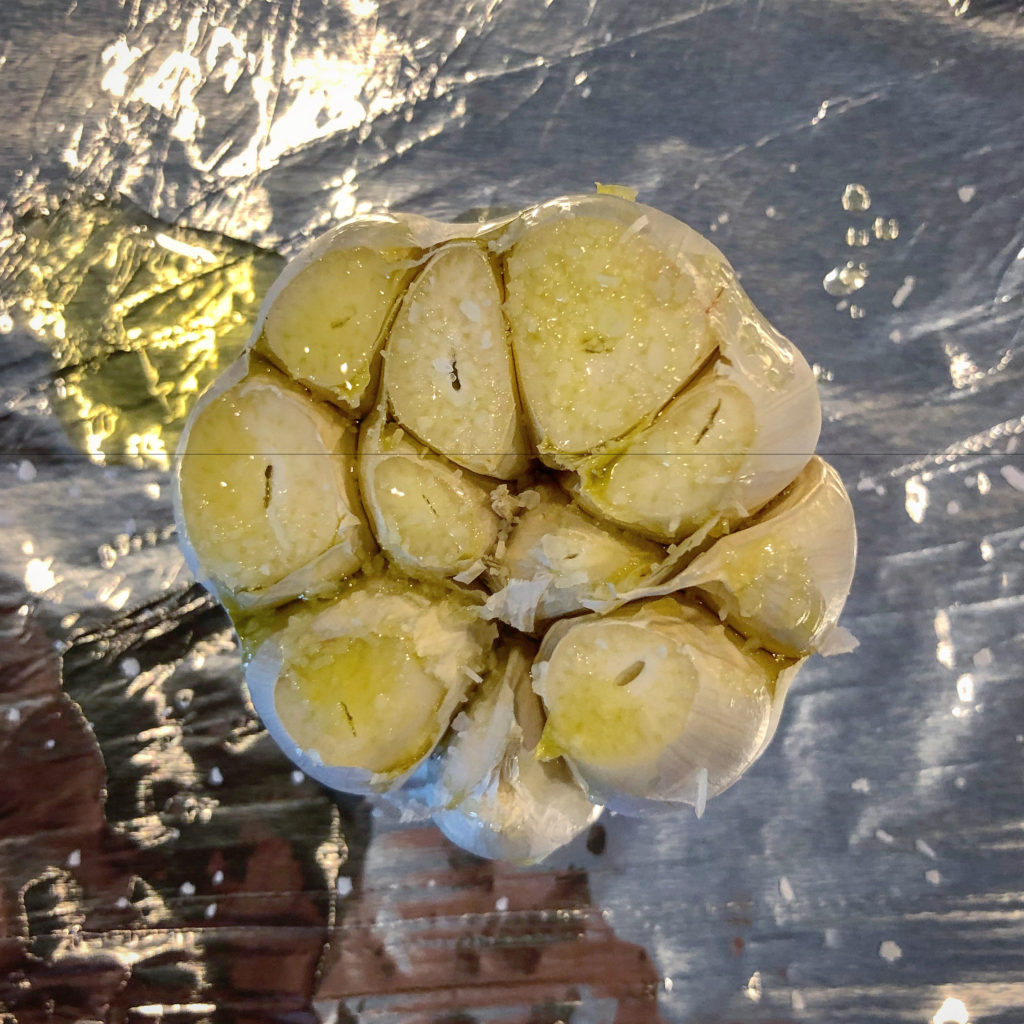
They should look like this 👇🏻 Mine took about 45 minutes. When they’re done roasting, open up the foil packs and let them cool.
Removing the chickpea skins:
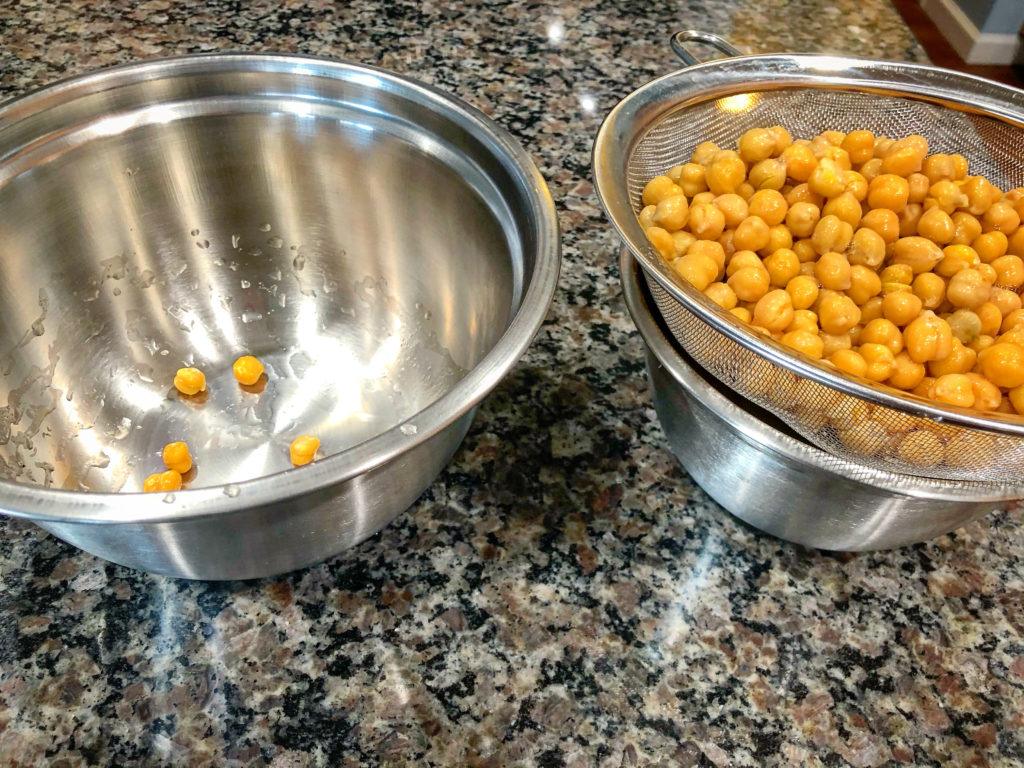
While the garlic is roasting, you want to de-skin the chickpeas. This takes a little bit, so you’re welcomed to do this in advance. Or you can do it while the garlic is roasting like I did. This was my set up 👇🏻
You want to reserve the liquid from the chickpeas. I placed a mesh strainer over a bowl and drained two 15 oz cans of chickpeas. I’d grab a few chickpeas at a time and remove the outer skin. To remove the skin, just gently pinch the chickpea and it’ll come right off. I put the shelled ones in a separate bowl. You don’t have to do this, but I’d really recommend it. It gives the hummus a really smooth texture.
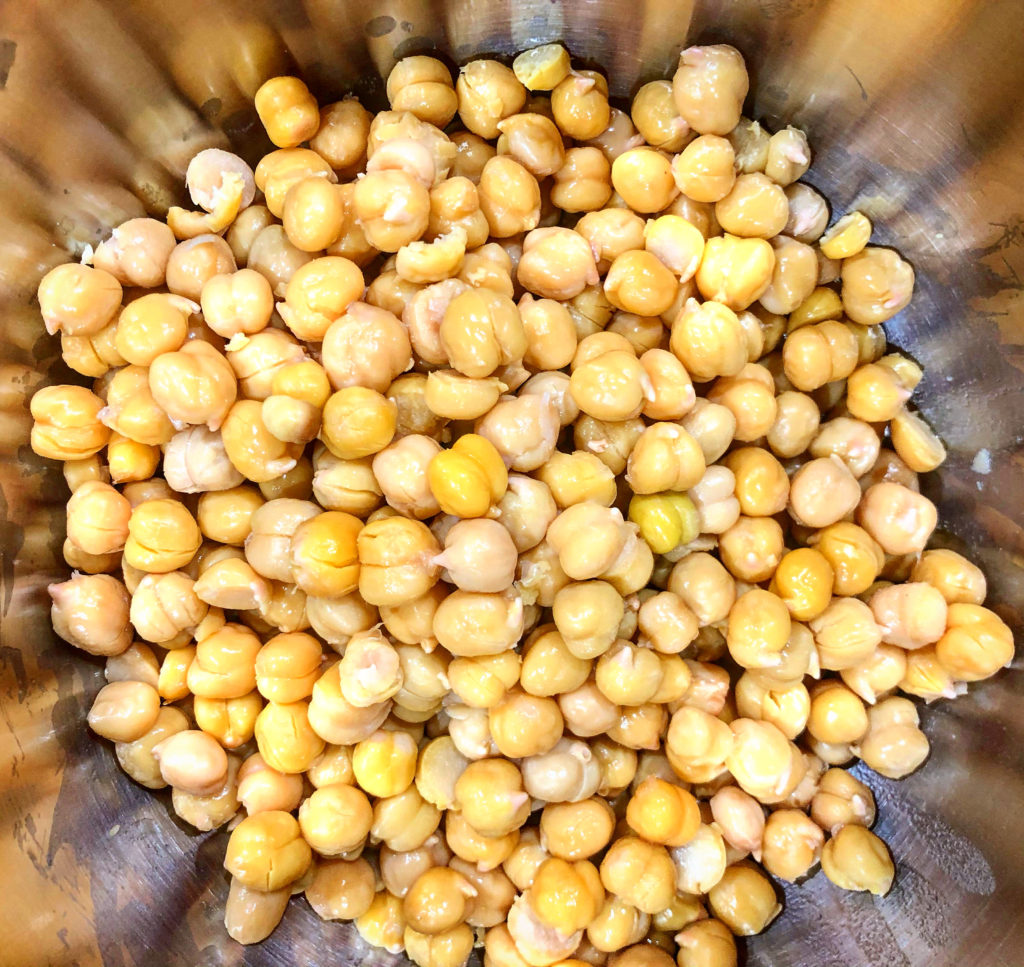
Not gonna lie, every time I have to de-skin 2 cans of chickpeas, I wonder if it’s worth it to make homemade hummus. I promise you that it is worth it. These are my naked chickpeas.
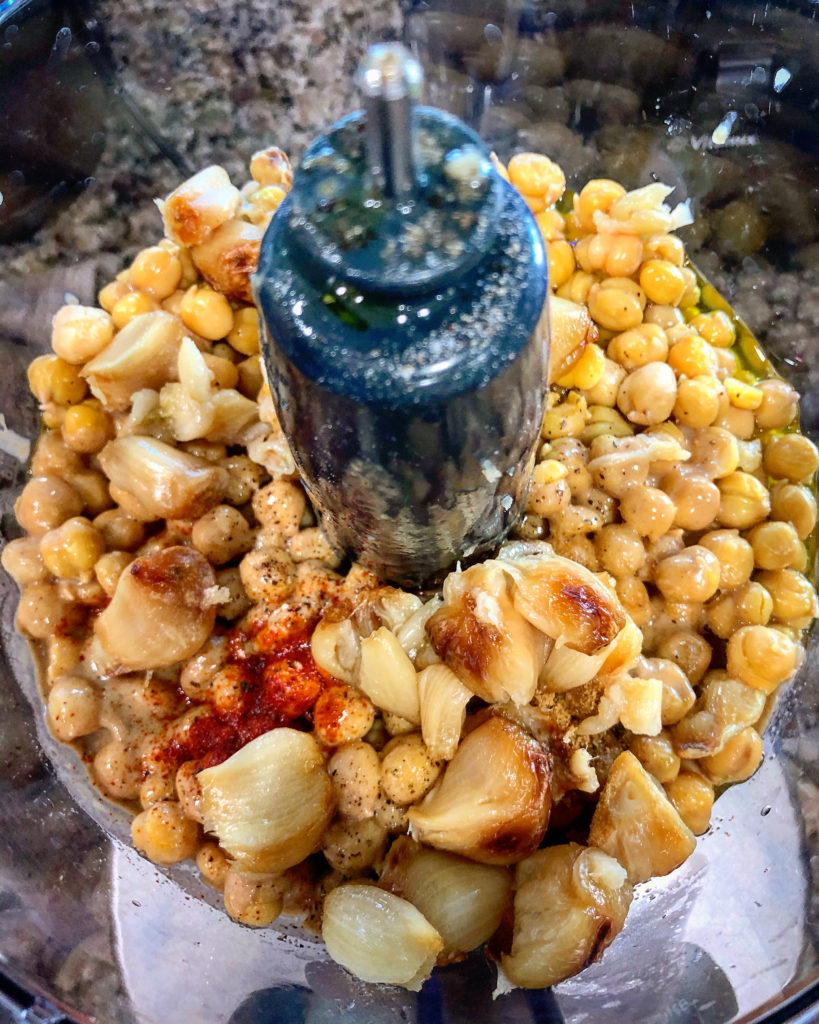
Add the chickpeas, 1/2 cup tahini, 1/2 tsp cayenne pepper, 1 tsp ground cumin, 1 1/2 tsp salt, 1/2 tsp pepper, the juice of 1/2 a lemon (about 2 tbsp), and 1/2 cup olive oil to a large food processor or blender. Blend on high until the mixture is smooth.
Then add 3 tbsp of the reserved chickpea liquid and blend. Add more, a tablespoon or two at a time, and blend. Add until you reach your desired consistency. I used 6 tbsp of reserved liquid.
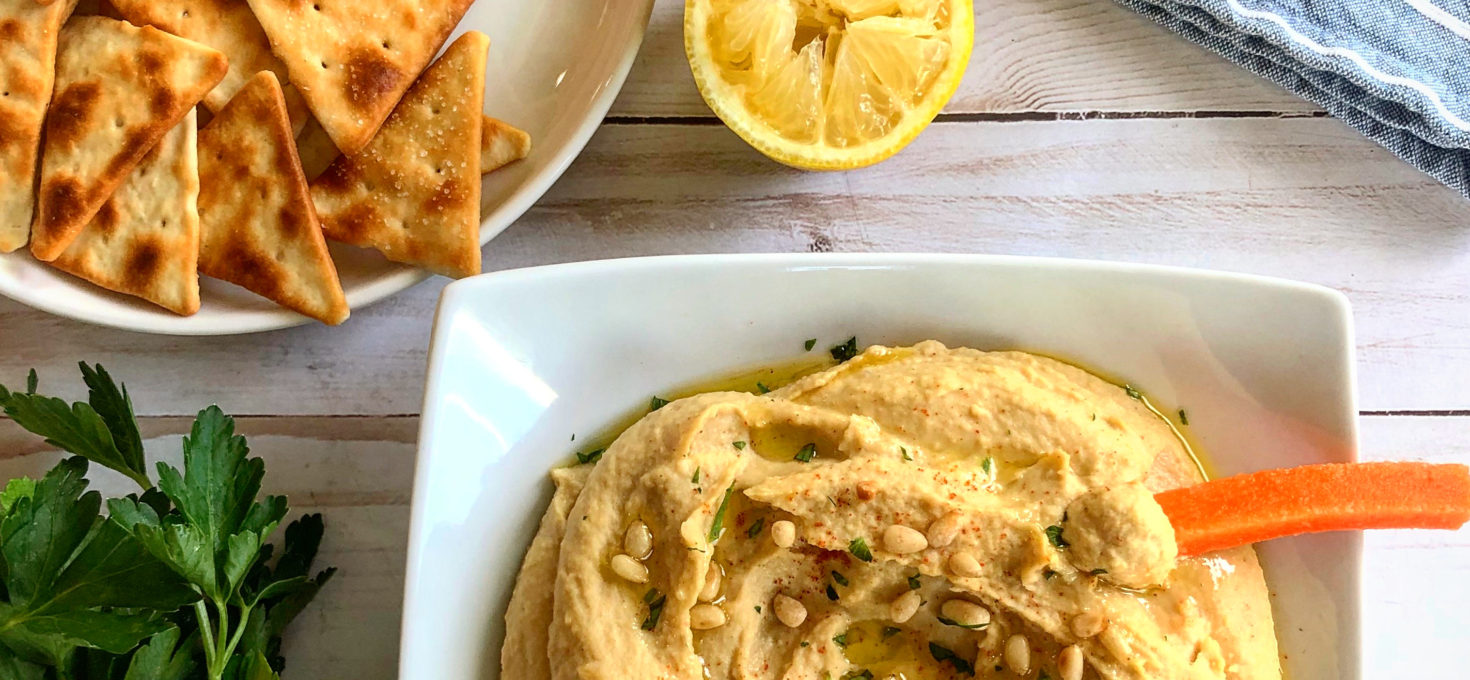
And that’s it! Your hummus is ready to serve. I put mine in a bowl, drizzled on a little extra olive oil, and topped it with some toasted pine nuts. I served the hummus with some fresh veggies and pita chips.

Enjoy!!
These are the recommended products that I used to make this delicious recipe! These are not only products that I use, but products that I love.


Roasted Garlic Hummus
Ingredients
For the Roasted Garlic-
- 3 Heads of Garlic
- Olive Oil
- Sea Salt
Other-
- 1/2 Cup Olive Oil + more as needed
- 2 15 Oz Cans Chickpeas, reserve liquid
- 1/2 Cup1 Tahini
- 1/2 Tsp Cayenne Pepper
- 1 Tsp Ground Cumin
- 1 1/2 Tsp Sea Salt
- 1/2 Tsp Pepper
- Reserved Chickpea liquid (I used 6 Tbsp)
- 1/2 Lemon, juiced (about 2 tbsp)
Instructions
- Start by roasting the heads of garlic. Preheat oven to 400 degrees. Cut the top off the heads of garlic and remove some of the papery outside. Lay each head of garlic on a square of foil. Drizzle the each with about 1/2 tbsp olive oil and a sprinkle of sea salt. Bunch up the foil into a ball and place on a baking sheet. Cook for 40-50 minutes until the garlic is roasted and golden. Let cool.
- While the garlic is roasting, remove the outer shells of the chickpeas (this will take a little bit, can do in advance). If you give a chickpea a gentle pinch, the shell should come loose. Discard the outer shells.
- To a large food processor or blender, add the shelled chickpeas, the tahini, cayenne pepper, olive oil, cumin, salt, pepper, and lemon juice.
- Once the garlic has cooled, remove the roasted cloves and add them to the food processor as well. Turn the food processor on high until the chickpeas start to smooth out. Add 3 tbsp of the reserved chickpea water. Blend on high.
- Add more chickpea water until you reach the desired consistency for you hummus (I used 6 tbsp). Taste the hummus for seasoning and add more salt if needed.
- Serve with pita chips, crackers, or fresh veggies. Store leftover hummus in an air-tight container in the refrigerator for up to one week. Enjoy!


 Welcome to Cupcakes and Sarcasm! My name is Maggie and I am the creator of C & S. I am a wife and mom of two beautiful kiddos. I grew up in Columbus, Ohio and now live in Northeast Ohio with my family. I have been cooking and baking since I was a kid. I decided in 2017 that I wanted to share my passion (and recipes) with all of you! On this site, you’ll find easy and delicious recipes- both savory and sweet. I’ll also sprinkle in some stories of parenting and our adventures along the way.