Whenever I wanted to bake cornbread, out of sheer convenience, I’d always reach for that blue box of instant cornbread. You know the one that I’m talking about. And, sure, it’s pretty good. And, yes, you can dress it up and make it even better than straight out of the box. But why do that when making cornbread from scratch is barely any more work and WAY more delicious? This recipe for Cast Iron Cornbread is just that- easy and so darn delicious.
This Cast Iron Cornbread has a hint of sweetness and beautiful golden edges. It’s light, fluffy, and is also that m-word that cannot be named (hint: the opposite of dry). Plus- and this is a huge bonus- most of the ingredients are pantry staples. Okay, maybe you’re not like me and always have cornmeal on hand. But, pick up some cornmeal and some buttermilk and you’re in business! And, actually, did you know that you can make a buttermilk substitute with just milk and lemon juice (or vinegar works too)? Either way, you’re just a few ingredients away from some insanely good cornbread.
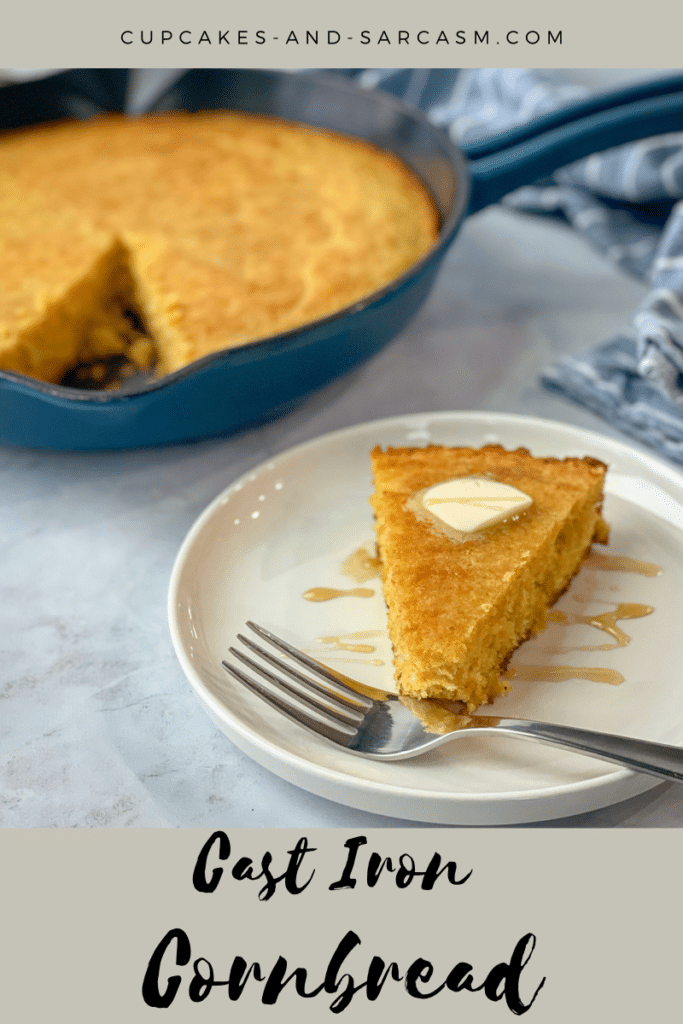
In the past, I had always baked cornbread in a baking dish. Cornbread baked in a baking dish is perfectly fine, but have you tried cornbread baked in cast iron yet? Boy, let me tell you, there’s a big difference. Cornbread that’s been baked in cast iron gets such tasty, golden edges. There’s a reason why grandmother’s in the South have been baking their cornbread in cast iron for decades- because it’s absolutely incredible. Just in case you don’t have a cast iron pan at home, yes, you can totally bake this cornbread in a regular baking dish. But trust me when I say, Cast Iron Cornbread is the way to go!
Let me show you how to make this Cast Iron Cornbread 👇🏻
First thing’s first.
This is a CAST IRON Cornbread… meaning that we are going to take full advantage of the cast iron. You’ll be placing your cornbread batter into a hot cast iron pan. So you’re going to start by preheating your oven to 400 degrees and placing your cast iron pan into the cold oven while the oven heats up. Let the oven and your pan heat up while you prepare the cornbread batter.
Preparing the batter.
To a large bowl, combine 1 cup of flour, 1 cup of cornmeal, 2 tbsp granulated sugar (optional), 1/2 tsp salt, 1 heaping tbsp of baking powder, and 1 tsp baking soda. Whisk everything together until well combined.
Note: To Sugar or Not to Sugar? That is the question. Frankly, I think that it’s a personal decision. I know that people can be very passionate about their cornbread and a lot of people will say that sugar belongs nowhere near cornbread. If you’re one of those people, by all means, leave it out. It won’t effect the recipe or your results. I, personally, enjoy a hint of sweetness in my cornbread and 2 tbsp of granulated sugar gives just that- a hint. Please feel free to add, adjust, or omit the sugar altogether.
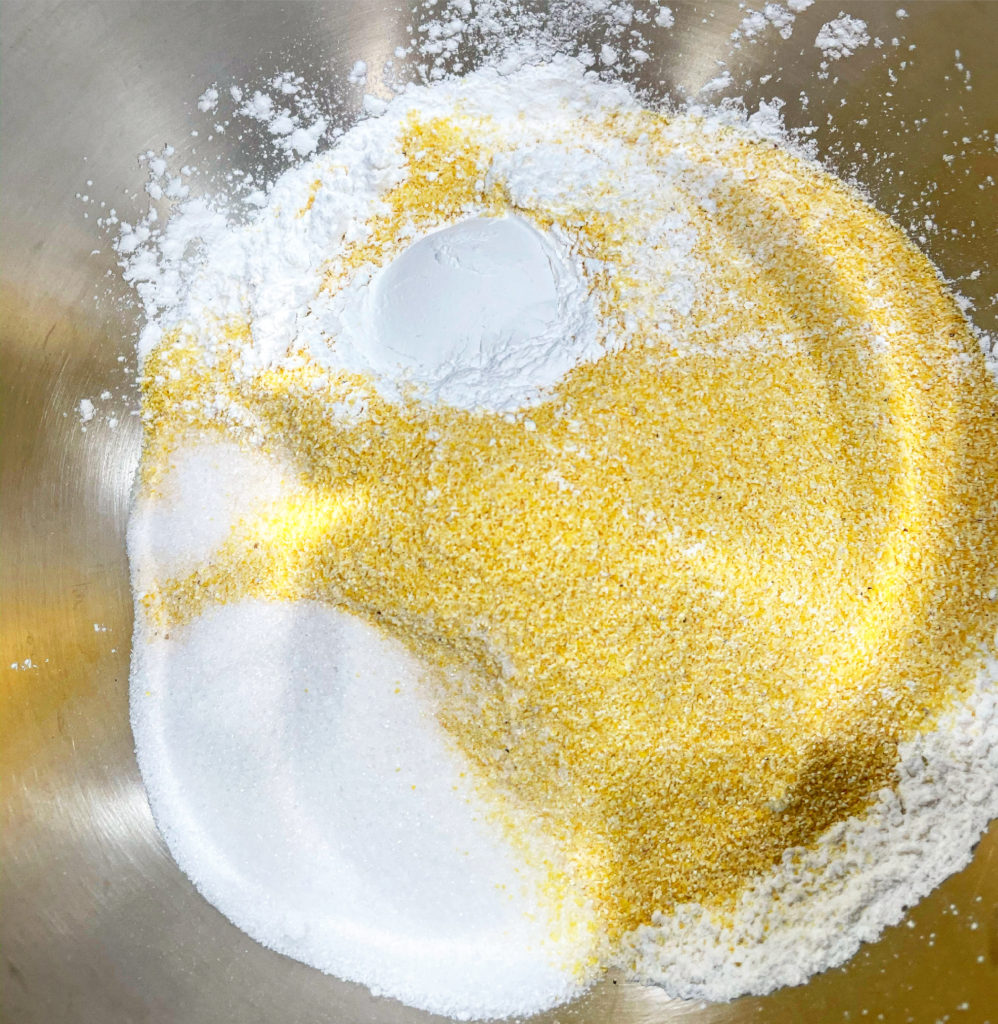
Now we’re going to add the wet ingredients to the dry ingredients.
To the bowl, add 2 eggs (probably better to whisk them up in advance), 1/4 cup of maple syrup (or honey), 1 cup buttermilk, 1/4 cup vegetable oil, and 7 tbsp of MELTED unsalted butter.
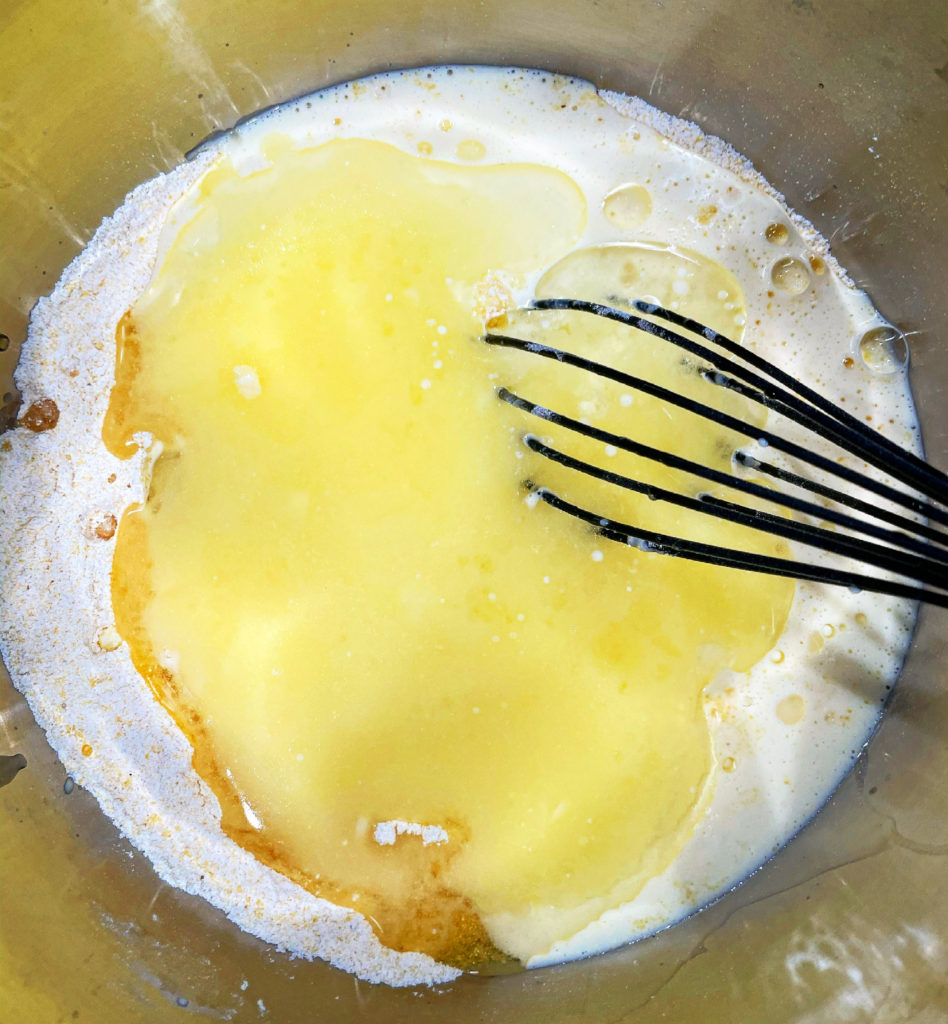
Let lumpy batters lie.
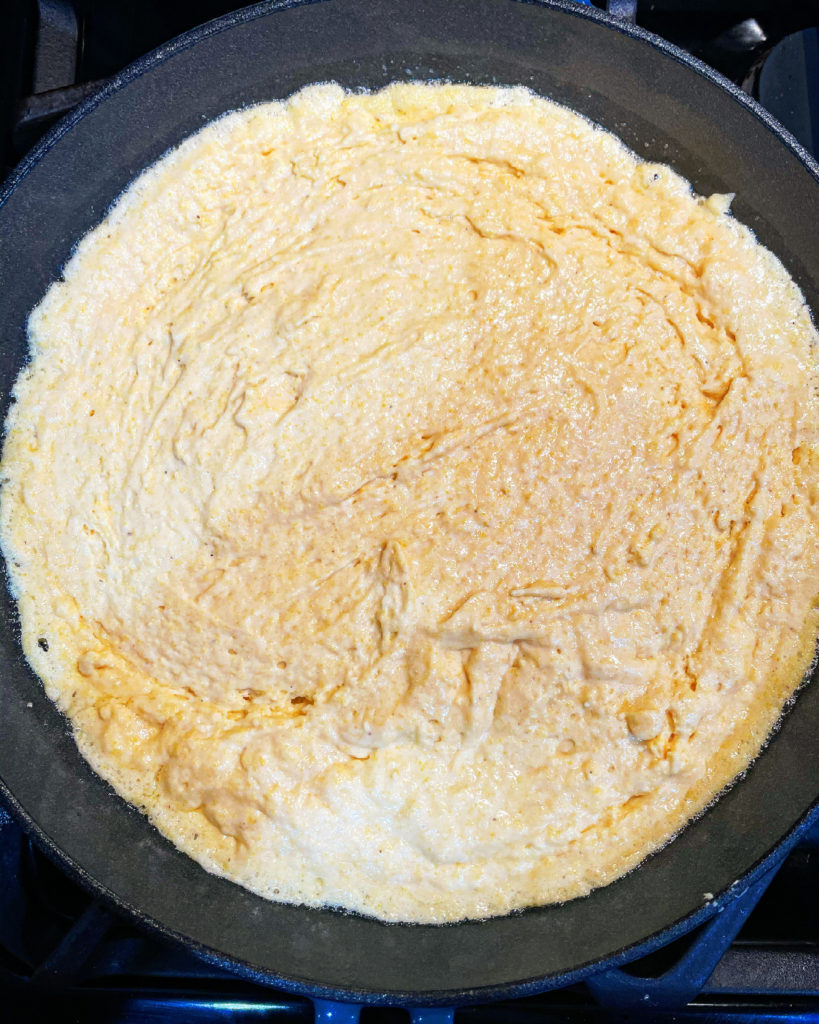
Whisk everything until just combined. You want to make sure that all of the dry ingredients are mixed in, but don’t overwork the batter. It will still be lumpy… and that’s what you want!
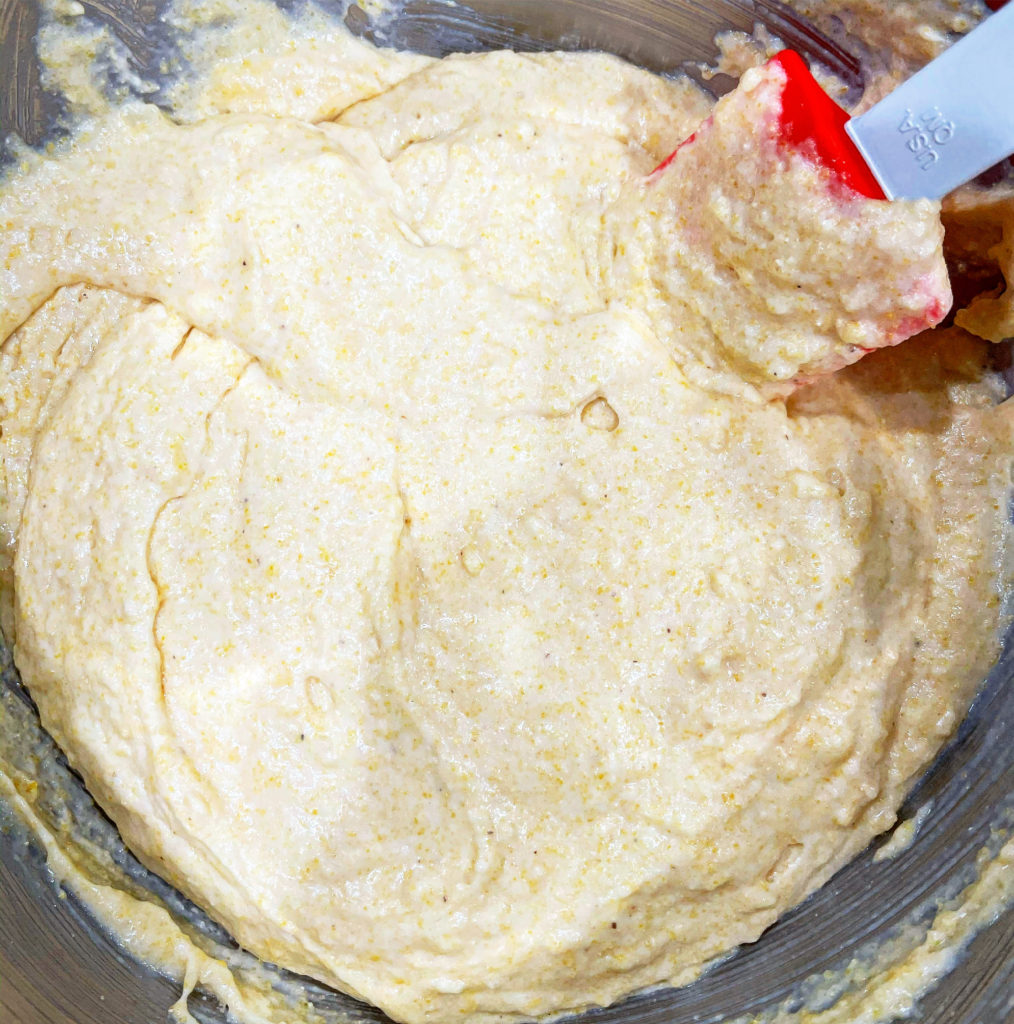
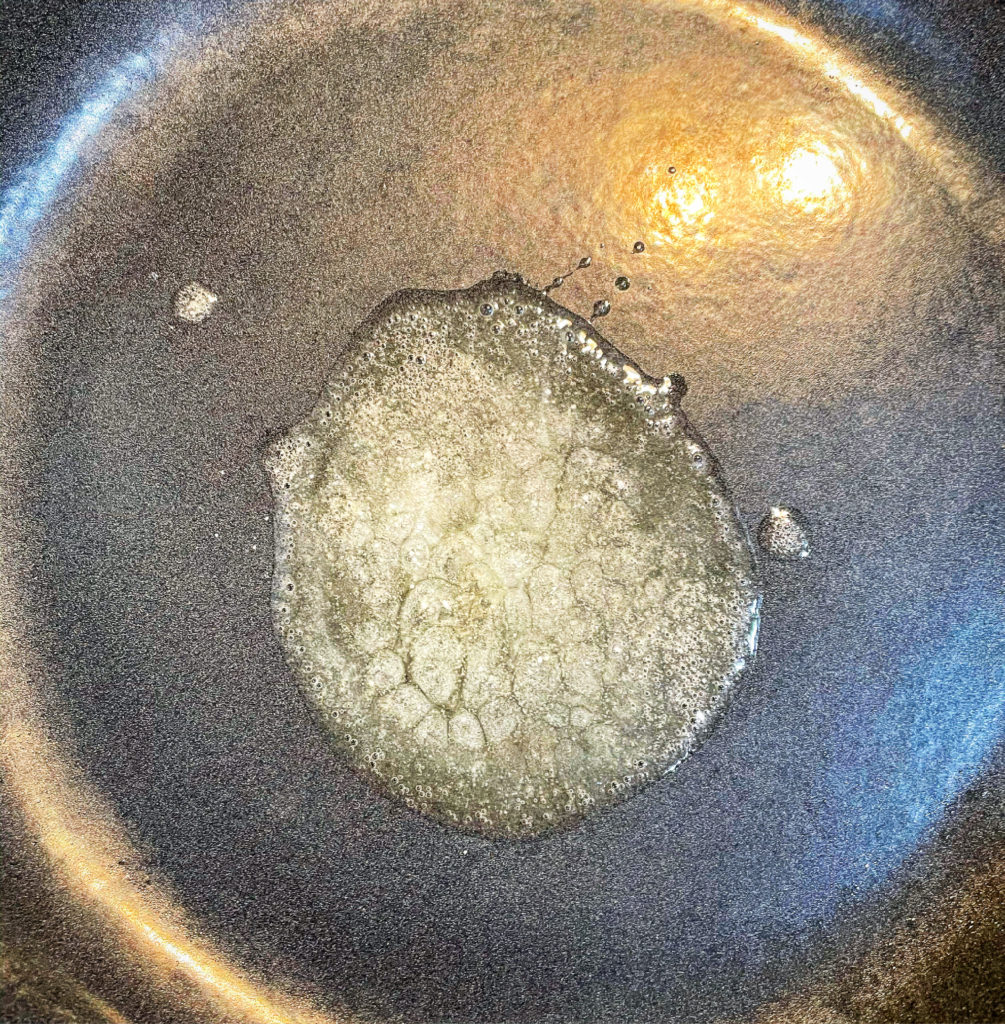
Once your oven has preheated, CAREFULLY remove the cast iron pan (remember it’s hot!!). Place 1 tbsp of unsalted butter in it and swirl it around until it is melted and has coated the bottom of the pan.
Now quickly pour your cornbread batter into the pan and use a silicone spatula to smooth the top of it.
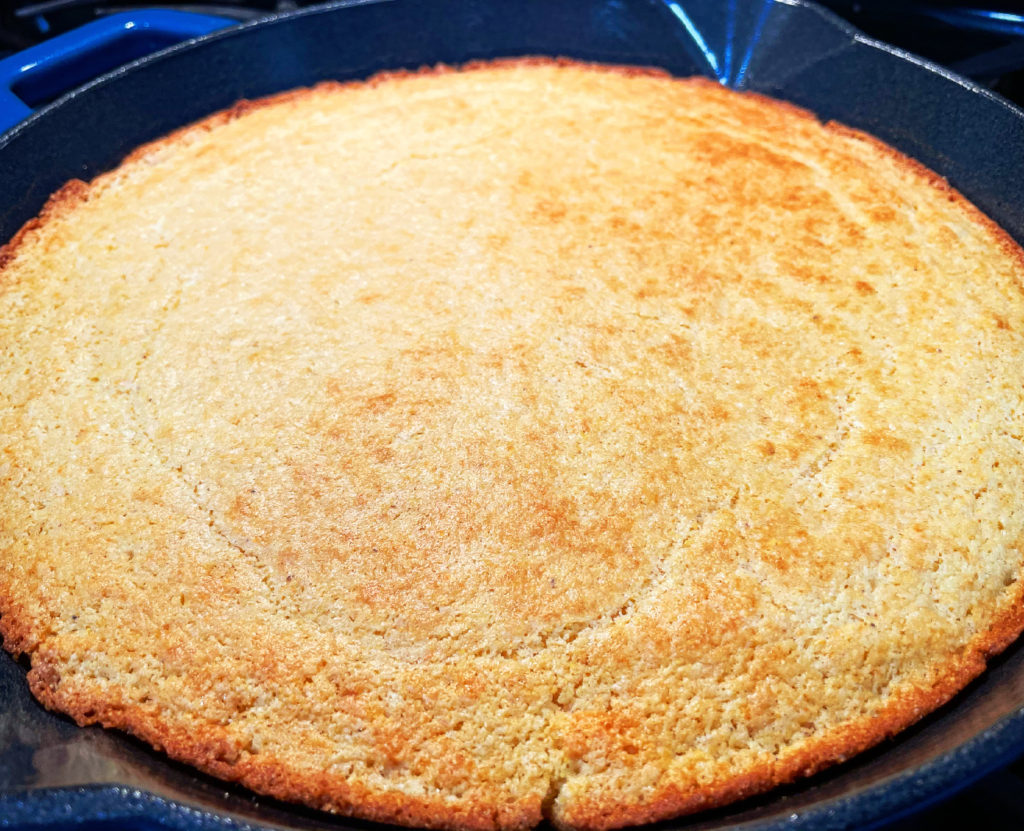
Cook the cornbread for 18-22 minutes. You want it to be cooked through and golden on the top and edges. You might want to insert a toothpick into the middle to check for doneness.
Optional (but is it?):
When the cornbread is hot and right out of the oven, brush the top with some more melted butter. Maybe some honey butter. Oooohhhh that sounds good.
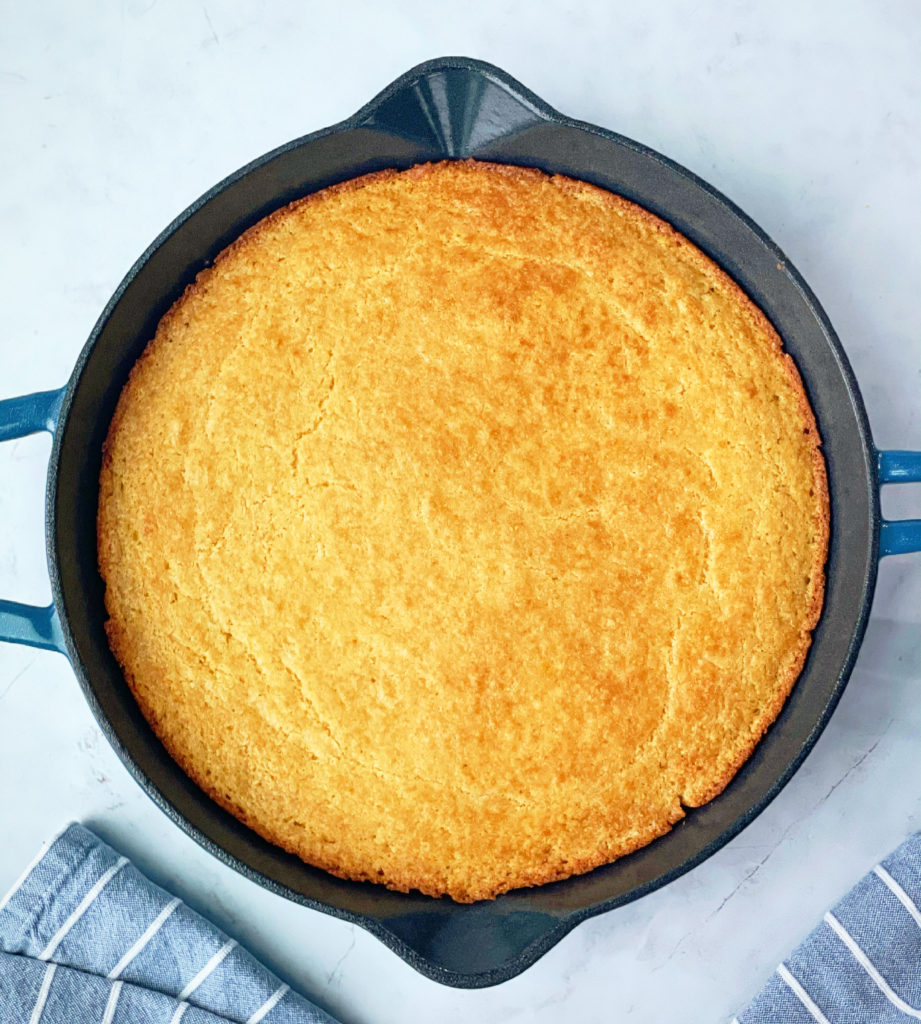
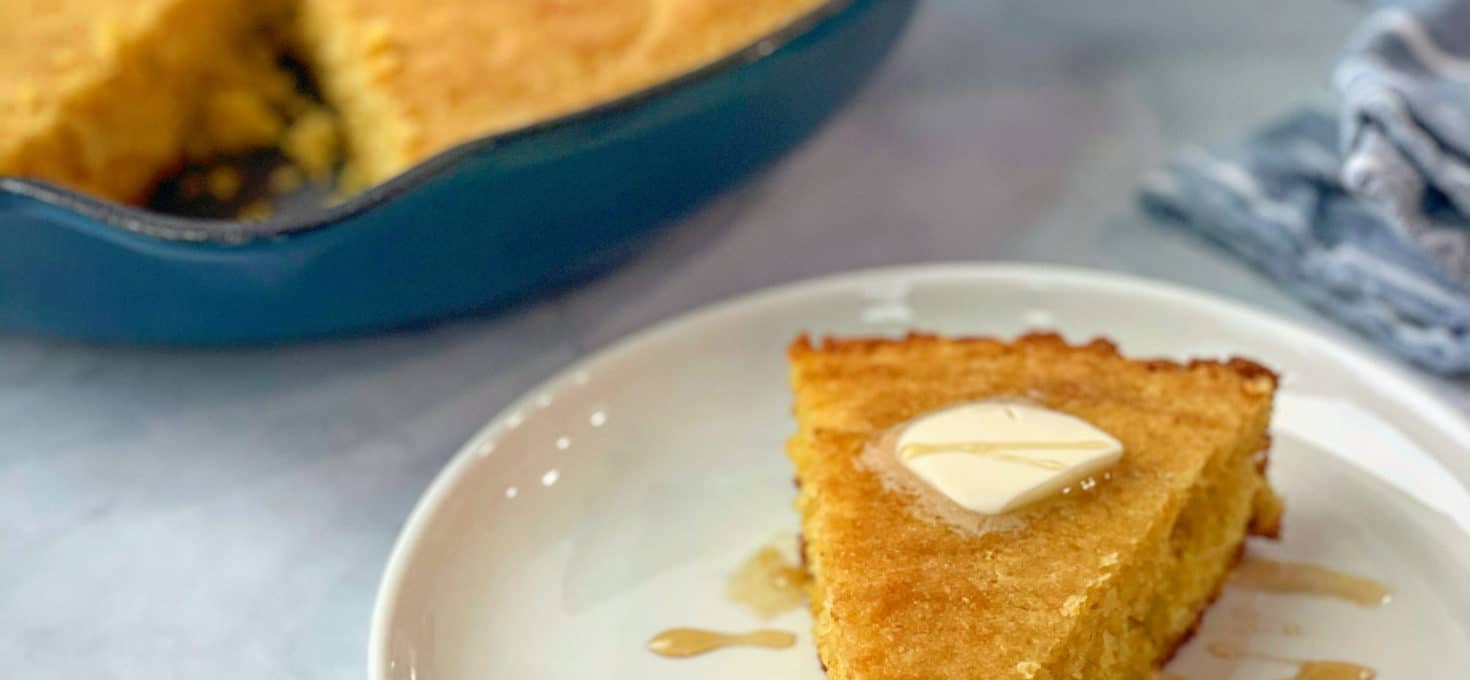
Let the cornbread cool for at least ten minutes before slicing. Serve with your favorite chili or all by itself (because it could totally be the star of the show anyway 😉).
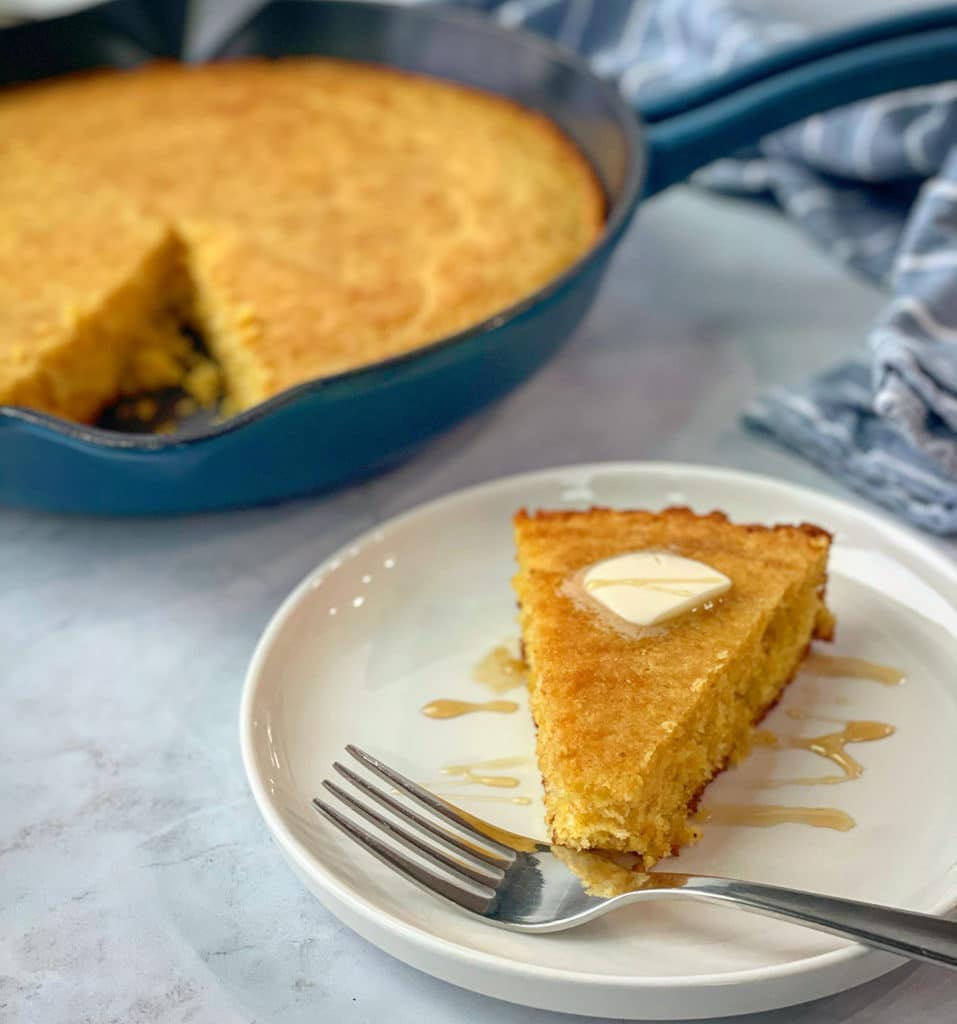
Enjoy!!
Store any leftovers in an air-tight container for 3-5 days.
These are the recommended products that I used to make this delicious recipe. These are not only products that I use, but products that I love.
(As an Amazon Associate, I may earn from qualifying purchases at no cost to you. And then I use those earnings to provide you with some awesome content. 😉)


Cast Iron Cornbread
Ingredients
- 1 Cup All-Purpose Flour
- 1 Cup Cornmeal
- 2 Tbsp Granulated Sugar (Optional) See notes above
- 1/2 Tsp Salt
- 1 Tbsp (heaping) Baking Powder
- 1 Tsp Baking Soda
- 2 Large Eggs
- 1/4 Cup Maple Syrup (or Honey)
- 1 Cup Buttermilk
- 1/4 Cup Vegetable Oil
- 7 Tbsp Unsalted Butter, melted
- 1 Tbsp Unsalted Butter
Instructions
- Preheat your oven to 400 degrees. Stick your cast iron pan into the cold oven to heat up while the oven preheats.
- To a large bowl, add the flour, cornmeal, granulated sugar, salt, baking powder, and baking soda. Whisk together until well combined.
- To the dry ingredients, add the eggs, maple syrup (or honey), buttermilk, oil, and melted butter. Whisk until just combined. The batter will still be lumpy, and that’s what you want!
- When the oven has preheated, carefully remove the cast iron pan and place the 1 tbsp of butter in it. Swirl it around and let it melt and coat the bottom of the pan.
- Quickly add the cornbread batter and use a silicone spatula to smooth the top. Place back into the oven and cook for 18-22 minutes until the top and edges are golden and the center is cooked through and set (may want to insert a toothpick into the center).
- Remove from oven and let sit until cool enough to slice. Optional: Once out of the oven, you can brush the cornbread with a little melted butter or honey butter. Enjoy!
Did you make this recipe? Don’t forget to leave it a rating! Thinking about making it? I’d love to hear from you! Please leave your thoughts or questions below in the comment section. (Your email will not be published) Thanks!
Tried this recipe? Share it on Instagram! Tag @cupcakes_and_sarcasm or #cupcakesandsarcasm


 Welcome to Cupcakes and Sarcasm! My name is Maggie and I am the creator of C & S. I am a wife and mom of two beautiful kiddos. I grew up in Columbus, Ohio and now live in Northeast Ohio with my family. I have been cooking and baking since I was a kid. I decided in 2017 that I wanted to share my passion (and recipes) with all of you! On this site, you’ll find easy and delicious recipes- both savory and sweet. I’ll also sprinkle in some stories of parenting and our adventures along the way.
1 comment